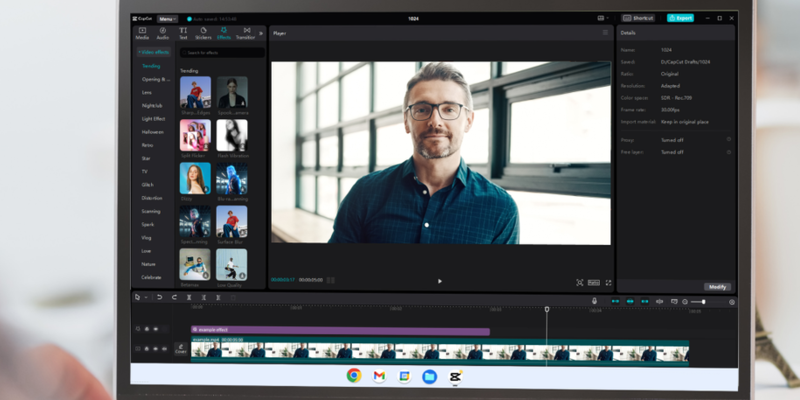
Cinematic videos are gaining traction on social media, filmmaking, and vlogging. This trend reflects a shift towards more engaging content that captures viewers' attention and keeps them returning for more. A vital part of achieving a professional look is color grading. This process enhances videos' visual appeal and mood, making them more captivating and immersive. It helps set the tone, whether you want a bright and cheerful vibe or a dark and moody atmosphere.
While many see CapCut as a free video editing software, its advanced color grading tools often require payment. This can be a hurdle for some users, but the investment can significantly improve video quality.
In this blog, we will guide users on effectively using CapCut's color grading features to create stunning cinematic videos. Join us as we explore tips and techniques to elevate your video content and impress your audience! Read on to discover more!
Why is Color Grading Important for Cinematic Videos?
Color grading is key for cinematic videos as it shapes storytelling and enhances mood. It allows filmmakers to evoke emotions, set tones, and create a unique visual style. For instance, warm colors suggest romance, while cooler tones imply tension.
CapCut offers powerful color grading tools that let users adjust brightness, contrast, and tones. This helps achieve a professional look in videos. Additionally, CapCut includes features like background remover for seamless edits and text-to-speech for adding voiceovers without recording.
While the CapCut desktop video editor has a free version, some advanced features may require a premium subscription. This balance of accessibility and functionality makes it a strong choice for video creators looking to elevate their work.
Steps to Create a Cinematic Look Using Color Grading in CapCut Desktop Video Editor
Install CapCut Desktop Video Editor
Visit the CapCut website to install the desktop video editor. Once there, look for the "Download" button that matches your device, whether it’s Windows or Mac. After downloading, find the installer file in your downloads folder and follow the prompts to install the software on your computer.
CapCut desktop video editor offers many features that are great for beginners. However, some advanced tools, like detailed color grading and background remover, may require a subscription. Remember that while you can access several premium features, some may involve additional costs. Enjoy exploring CapCut's editing tools and enhancing your videos!
Import Your Video
To start, launch the CapCut desktop video editor. Once the program is open, look for the "Import" button and click it to upload your video. This step is simple and quick, making it easy to get started. As you choose your video, make sure to select high-resolution footage. High-quality videos are crucial because they enhance the color grading process. This improvement makes your final product look more professional and visually appealing.
After uploading, you will see your video in the timeline, allowing easy editing and adjustments. Remember, good-quality footage leads to better results. So, take a moment to select the best video before moving on. With these steps complete, you are now ready to create something amazing! Enjoy the editing process!
Use the Color Grading Panel
To access the color grading panel in CapCut, open the free video editing software and start a new project. Upload your video by clicking "Import" and choosing your file. With your video on the timeline, click the "Color" icon at the bottom.
Key adjustments include brightness, which controls light levels, and contrast for depth. Saturation enhances colors. Temperature adjusts warmth or coolness, and tints for color balance.
For a quick cinematic effect, explore presets available in CapCut. Alternatively, you can manually adjust tones to create a personalized look that suits your style. Remember, while CapCut is free, some advanced features may require a premium subscription.
Apply Cinematic LUTs (Look-Up Tables)
LUTs, or Look-Up Tables, are tools that apply pre-designed cinematic looks to videos. They change the colors and tones in your footage, making it visually appealing. The CapCut desktop video editor offers a range of LUTs, allowing users to enhance their videos easily. However, some premium LUTs may require payment.
Using LUTs is simple and effective. They work well with other features, like the background remover to improve video quality. This combination helps create a polished final product. You can transform your raw footage into something stunning with just a few clicks. Experimenting with different LUTs can help you find the perfect look for your project.
Finalize and Export
Hit the play button to see your changes in action. Watch the video closely and make notes on any parts you want to adjust. If something does not look right, tweak the settings as needed. Once you are happy with the result, it is time to finalize your video.
Click on the export option to save your work. Choose high resolution for the best quality. Keep in mind that options like 4K may need a premium plan. After selecting your settings, hit export and wait for your video to finish processing. Enjoy sharing your creation!
Wrapping Up
Color grading is key to creating cinematic visuals and enhancing mood and storytelling. CapCut desktop video editor offers user-friendly tools that make color grading easy for everyone, from beginners to pros. While often seen as free software, its premium features deliver great value for crafting stunning videos. Try CapCut today to elevate your projects!


